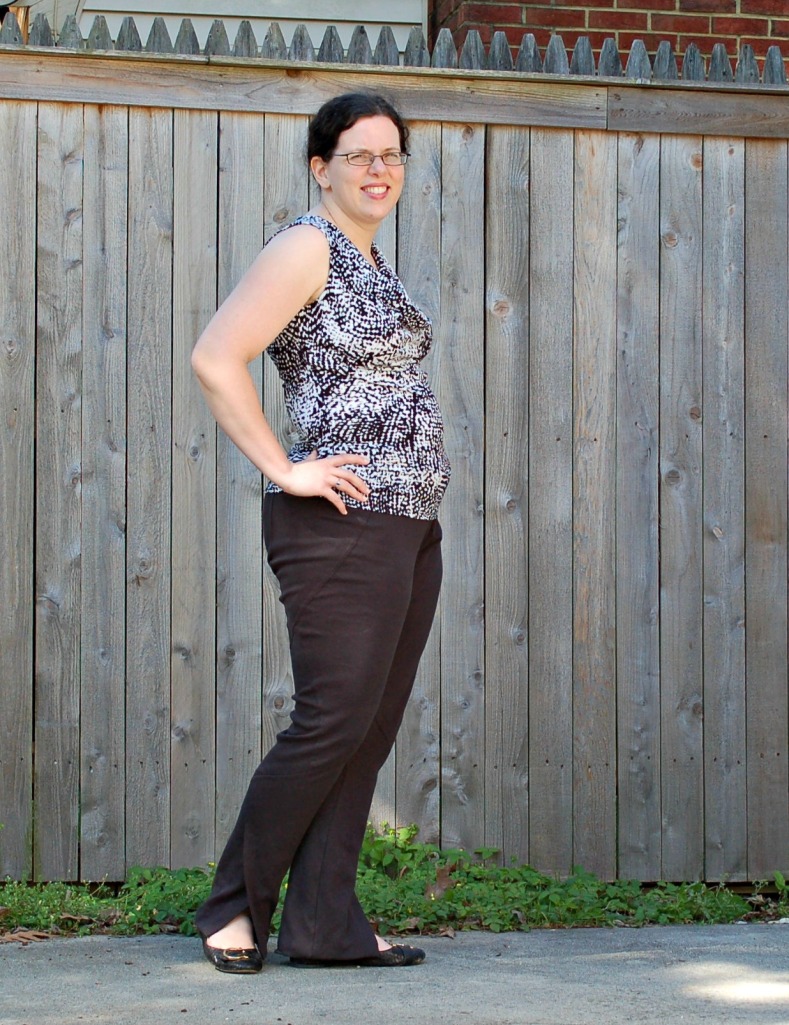
The pants I made two weeks ago have been working great for me, though I keep forgetting how much ponte wants to pill, especially on the inner thighs. C’est la vie, next time I’ll look for one with no polyester, but I don’t know that I will find that locally. However, with another two yard cut of black ponte, what to do? Clearly, make more pants!
This time I chose to make Vogue 1378, the Donna Karan knit pants with awesome seaming. Naturally, since these are black, no one will know just how awesome the seams are but me. Based on several of the reviews from Pattern Review, I chose to cut a straight 14 for these. Then I took a half-inch out of the front rise and added two inches to the back, which had to be done over two pattern pieces. I then measured the inseam, which is 34 inches. Even with an inch hem, these would have been too long and I didn’t want to just take length out at the hem so to not interfere with the flaring that happens at the hem. So I took out an inch just above where the two bottom pieces are joined, so only two pieces and their facings to adjust. Then I took a half-inch out of the thigh, above where the inset is, again trying to minimize the number of weirdly shaped pieces I was changing. Lastly, I slashed the inner thigh and added an inch there. That amount was arbitrary, as I know I need at least some of it, but I wasn’t sure how much. Needless to say, the back piece looked especially hacked up before I even got the point of fabric cutting.
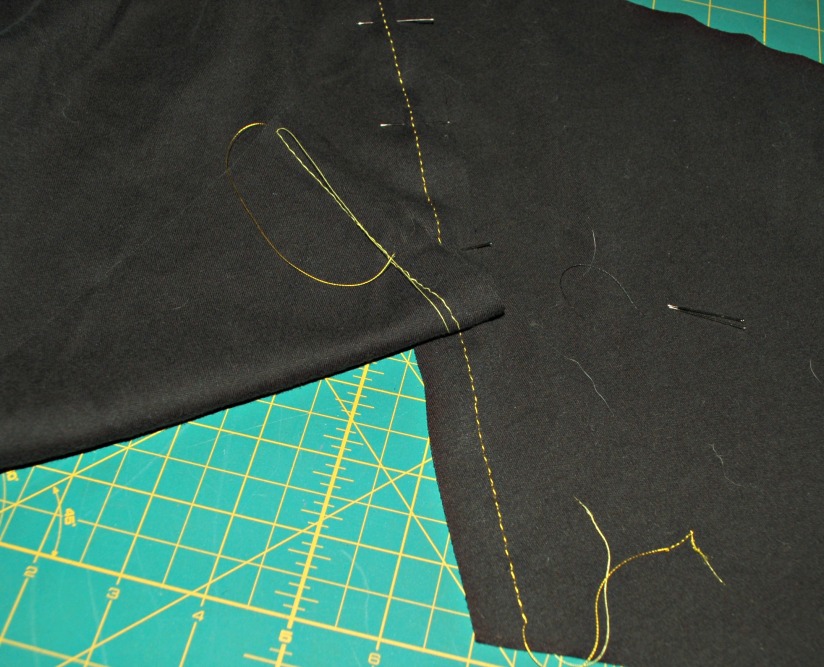
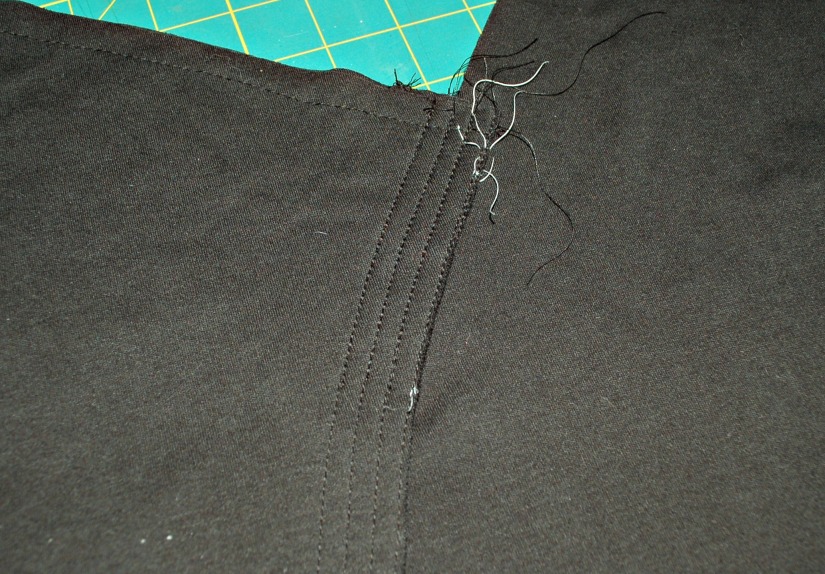
I was just able to eke this out of my 2 yards of fabric, which shrank crosswise when prewashed. I’m happy that there were no scraps to speak of, since I’m not fooling myself that any leftover fabric will become useful. The pattern calls for tons of lapped seams, which I have never done before. I decided that the easiest way for me was to run a machine basted line at 5/8″, line those up when pinning, and use the basting as the guide for the actual stitching. I used yellow polyester thread for the bobbin, and gold rayon thread for the needle and dialed the tension all the way down. This worked pretty well, especially since it was easy to discern the bobbin threads afterward for removing the basting stitches. This pattern definitely gave my 1/4″ foot a workout as all of the lapped seams are then topstitched at a quarter-inch and the bottom opening over the foot uses three rows of topstitching. I love the effect, again, even if I’m the only one who knows about it.
The directions were very helpful for figuring out assembling everything. I won’t say that this was a fast project once I got to the actual sewing as I was taking the time to get everything as good as I could reasonably get, including ripping out my first attempt at making a lapped seam. However, this is a rare project where I enjoyed the process of making it as much as the final product, which is not my usual nature.
The big hiccup for this project is that halfway through, my poor Elna decided it was done playing ball. So at the moment, it’s sitting over at the Janome dealer in town to get fixed. Looks like the timing is off and the guy pointed out that my bobbin winder spins all of the time (it’s not supposed to), and it sounds rough like something is catching. Well, I did know that it didn’t sound great, but I hope to have it back by the end of the week good as new ::fingers crossed::. So I hauled out the Bernina since I was only doing straight stitches to see if I can find more affection for that machine. I was pleasantly surprised. It’s so quiet! It may never be my dream machine, but I’m not ready to Ebay it either.
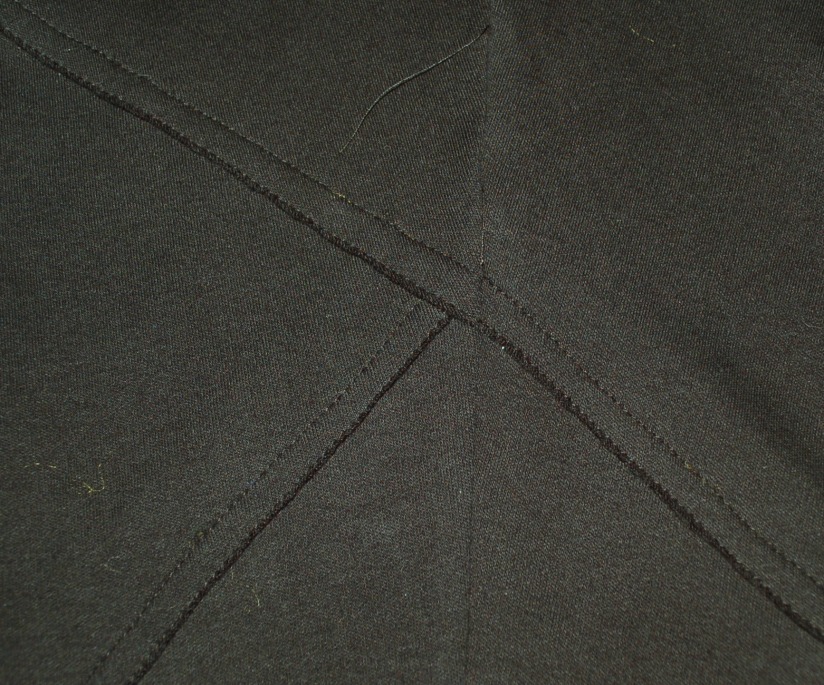
Not too shabby on getting things to line up
Once all of the pieces are assembled to create a pant leg, it was pretty straightforward to finish construction. I managed to get that nice intersecting seam on the inseam in one go, so of course the second one was a mess and had to be redone. I really like all of the seams but will admit to have grown tired of having to trim all of the exposed seam allowances. I definitely did not clean up the ones on the interior as a result. I picked up a pair of applique scissors specifically for use with this project, and they helped out a bunch. Only once did I cause a small mistake where I trimmed off too much seam allowance and so had to stitch it back down.
The waistband was done again using Kathleen Fasanella’s method, though my first go, I was too conservative and made my elastic too big. At least redoing it was easy. Lastly, I decided to go with the blind hem called for by the pattern. That’s when I remembered that the Bernina does not do any zigzagging right now. Ugh. I did the hem by hand after allowing the pants to sit overnight. At the end of a project when I’m past ready to be done with it, I dislike doing any hand sewing even when it’s the right choice for a particular situation. Fortunately, a good night’s sleep readjusted my perspective and I hemmed these without complaint.
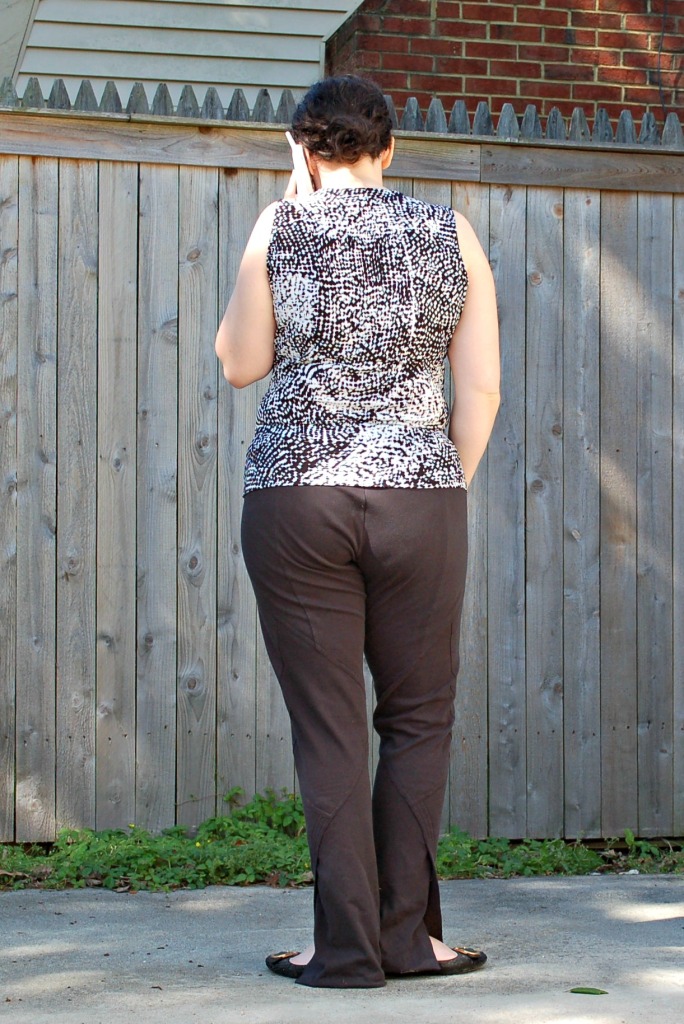
The back view.
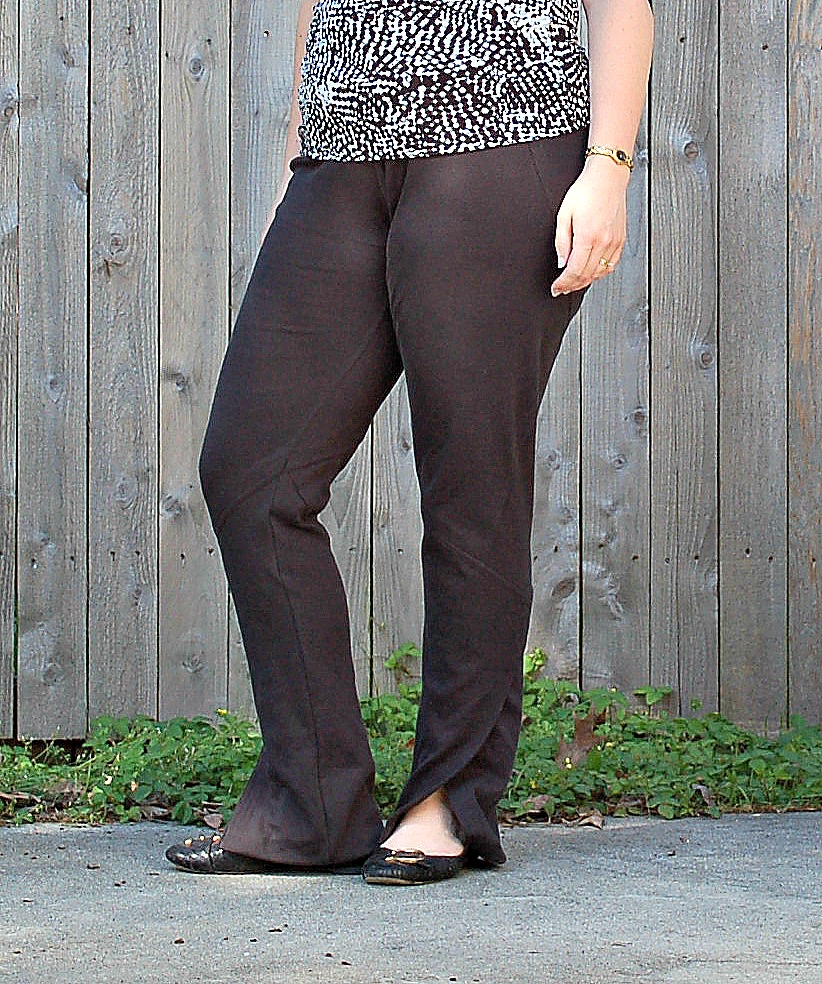
Getting details to show on black is hard, and this is the best my meager photo editing skills can do
My only regret is that I think these ended up too short for wearing with heels, which would have looked awesome, but realistically I will get more use out of them at this length.
Very cute! I cut this pattern AS SOON as I bought it and then it sat…unsewed. I am thinking now is the time 🙂
VERY good to know about the sizing. I am typically an 18 for pants and was really uncertain on what size to cut…so this helps.
Thank you! I am definitely glad I went down in size as the ponte grows a little bit in wearing as it is and this is one that’s better the closer fitting it is (at least in my opinion). Good luck with it as I think it’s a great look!
I’m putting this pants pattern on my must make list. The way they drape in the front is very cool!
They are so much fun to make and so easy to wear. Enjoy them!